
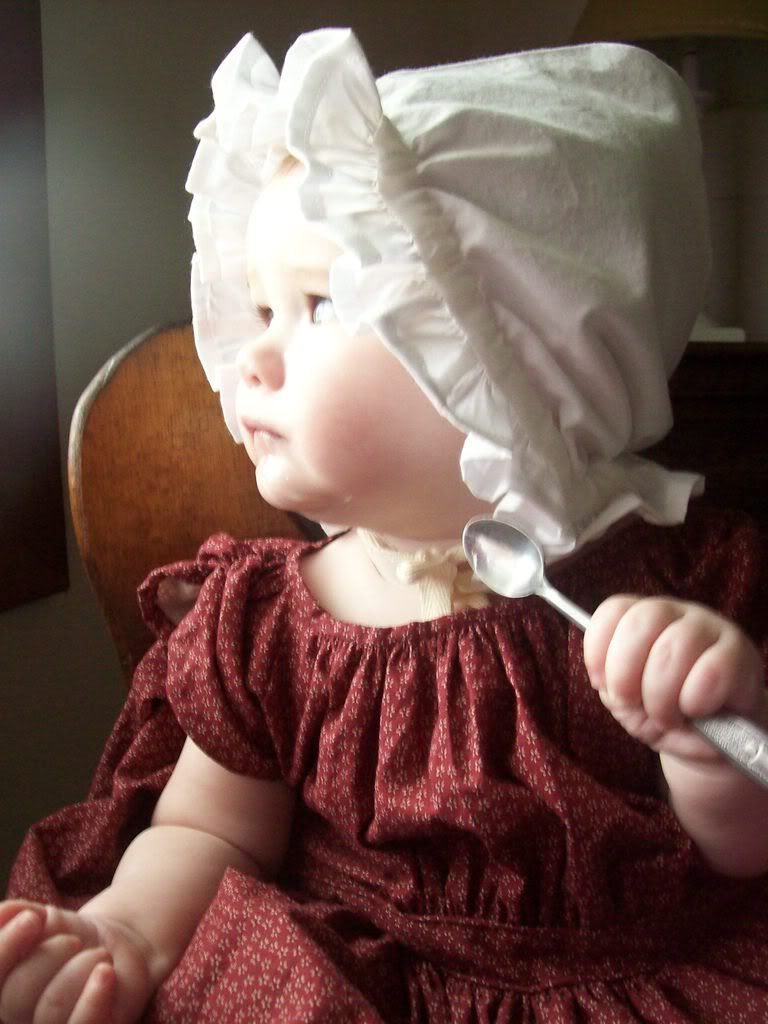
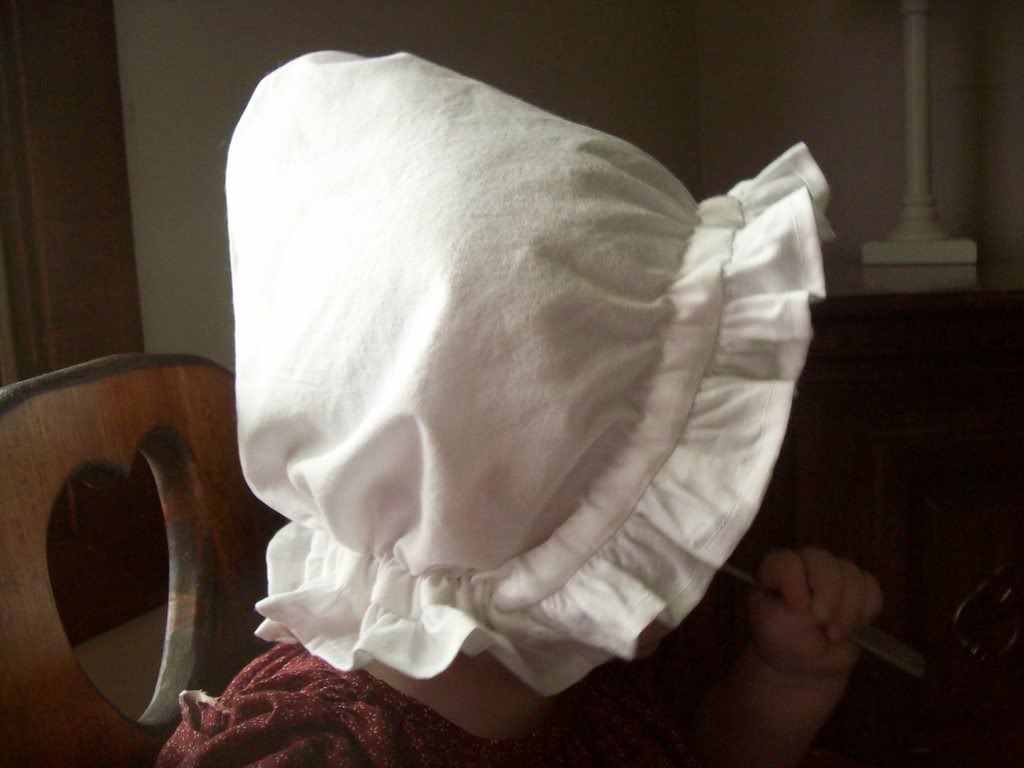
Today I made Judah a baby cap. At seven months, maybe he’s a little too old to be wearing one but I decided it was for him after it was all done and he kept on his head for pictures. It was supposed to be for my Etsy shop but I can make another. Little Judah can have this one.
The cap is based off of one that is dated 1845-1855 from the Wisconsin Historical Museum Online Collections. The original cap is made of a sheerer material than I used, but I wanted to test out the shape and all that. I made a bunch of sketches the other day from looking at all the baby caps on the WHM site and will be trying them out. While most of the shapes seem incredibly simple the ornate embroidery and lace insertion on many of the caps is truly breathtaking! There were a few caps that were very plain, however, one with just a narrow lace edging around the face.
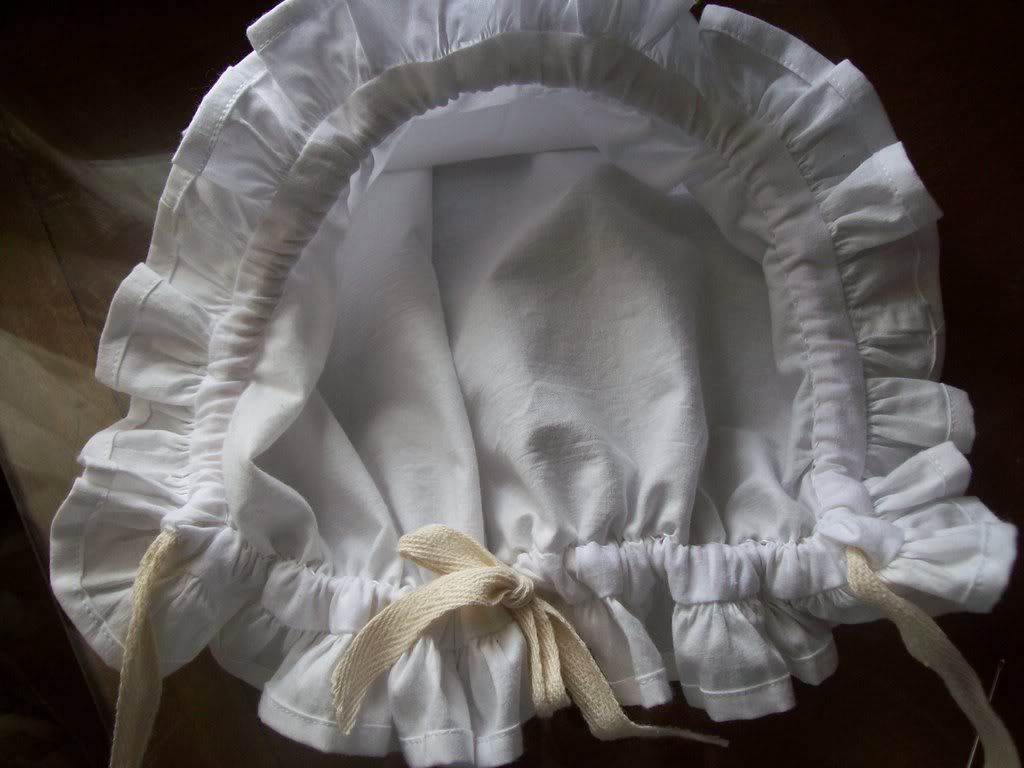
This cap is one-piece, with a ruffle around the entire thing, and the fullness is taken up at the neck and face with drawstrings.
Here is the pattern I drew out to make the cap. Just print full-size. (I really need to get the Adobe program for these sorts of things but am loathe to spend the money on it since I don’t know how often I would be using it!)
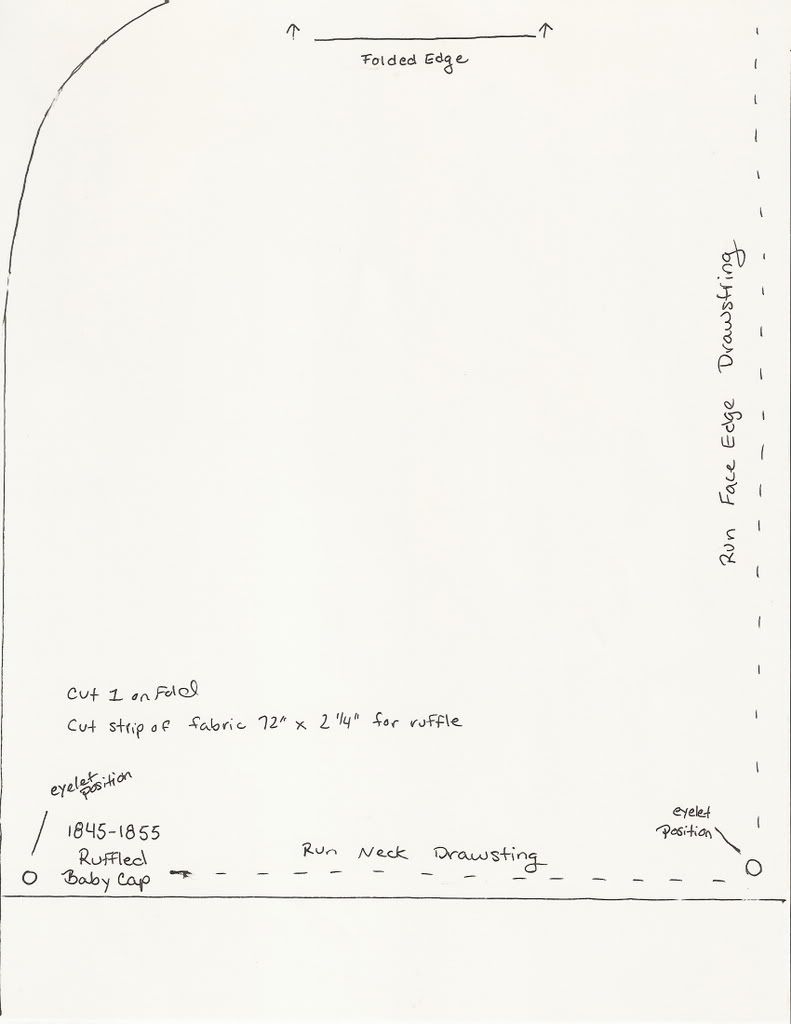
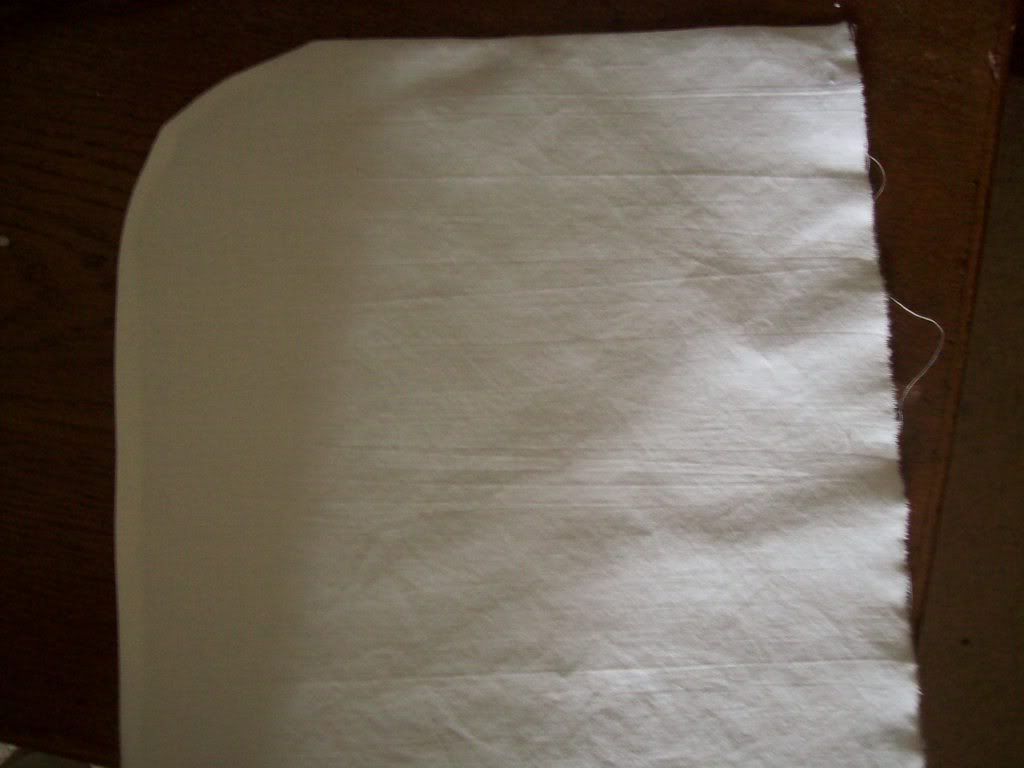
Cut 1 cap on the indicated fold line. Sew right sides together, finish seam in preferred way (I just sewed two rows of stitching close together and trimmed the seam allowance, since this was pretty much a ‘practice’ cap).
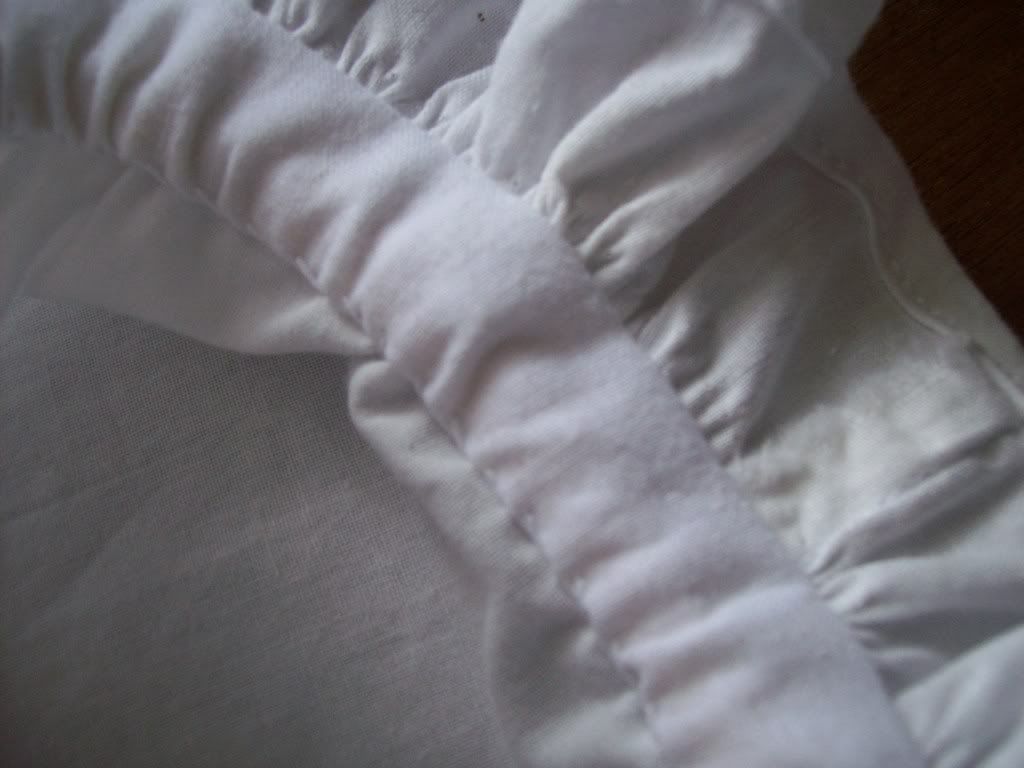
Make the ruffle by cutting out a strip 2.5” wide by 72” long. Sew into a circle. Hem one edge of the strip and run two rows of gathering stitches on the other edge. Draw up fullness, pin to cap and stitch, right sides together. Remove gathering threads and press seam allowance to inside of cap.
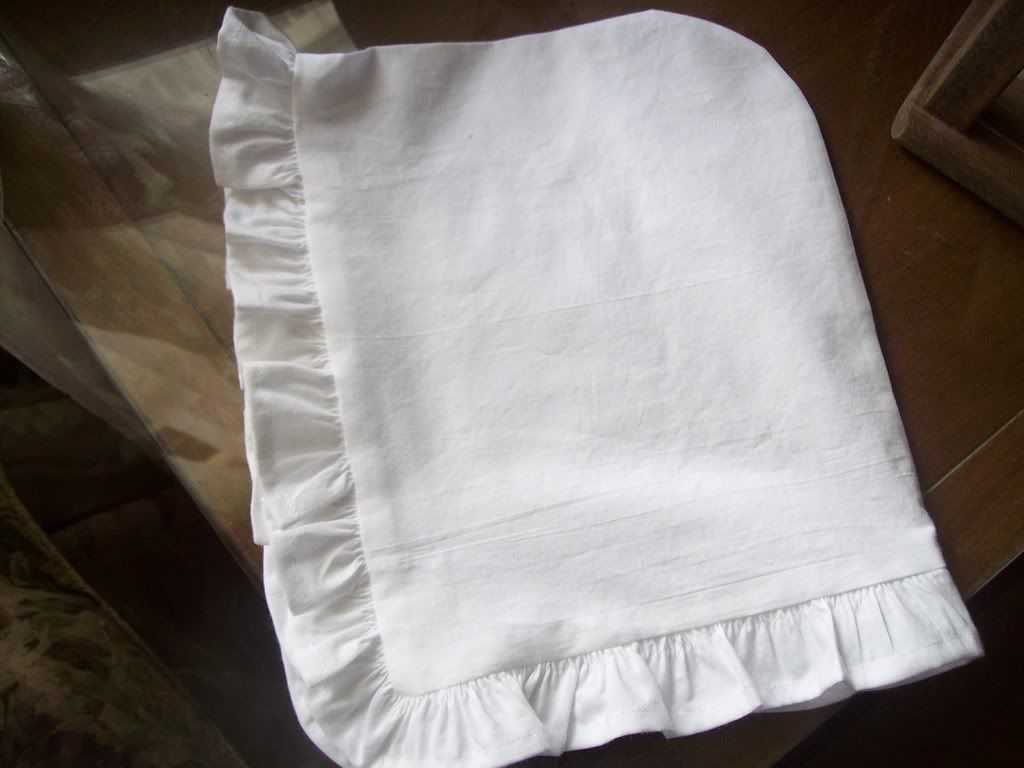
Cut a strip of fabric 3” wide x 35” long. Sew into a circle. Pin to cap, right sides together, with ruffle turned to outside of cap. (you will be making a ‘sandwich’ of the cap and casing strip, with the ruffle as the ‘filler’ in this step). Stitch to cap.
Make eyelets in casing strip were indicated on pattern. (2 at center back, and one at each chin edge).
Turn under raw edge of top of casing, pin to cap and slip stitch into place.
Take drawstring, and thread one drawstring through the face edge, with each loose end emerging at the eyelet at the chin edge.
Cut two smaller drawstrings. Thread one through one center back eyelet to chin edge. Secure edge of drawstring firmly inside casing at chin edge. Repeat for the other side.
Draw up drawstrings to fit the baby.

The End. :)
Love,
Sarah
Oh, he's just precious!
ReplyDeleteOoooh, so sweet. Have you heard anything about your house? I'm on tenter hooks for you :-) I'm writing you a reply to your letter, I've just been crazy busy at work. God Bless!
ReplyDeleteLauren
He is so adorable! Hat looks nice and easy.
ReplyDeleteFaith G.
Oh, he's so cute!
ReplyDeleteSo cute!
ReplyDelete